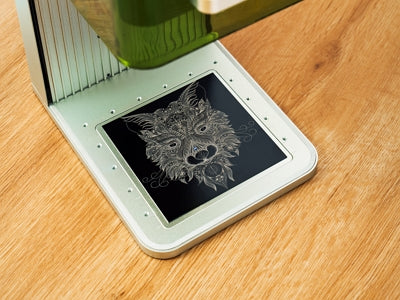
How Does Laser Engraving Work?
Engraving has a rich history dating back thousands of years. The first writing system, hieroglyphics, was carved(engraved) on stones. Evolving from a communication tool, engraving in later centuries became a method for embellishing coins and monuments. Sharp tools were introduced to carve materials and turn them into pieces.
However, traditional engraving was heavily reliant on the artisan’s manual skills and was a time-consuming process. The mid-1990s marked a significant shift with the introduction of laser technology, which gave rise to laser engraving. This new method was more precise and fully automated, independent of manual skills.
Fast forward to the 21st century – laser engraving is no longer just an industrial process with heavy-duty machines and high setup costs. Nowadays, compact laser engraving machines have made it possible to practice this art form at home.
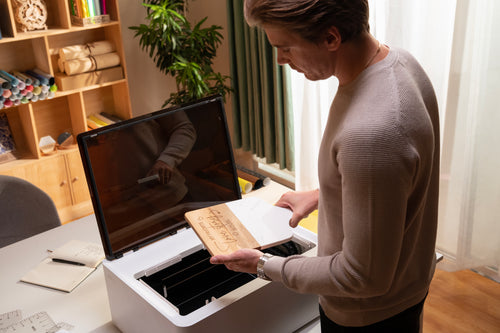
This article throws light on this innovative technology and how it works. Our target is to explain the laser-matter interaction and the whole engraving process in a simplified manner.
In This Article
- Laser Engraving: How Laser Light Interacts with Materials
- Differences between Laser Engraving, Etching, and Marking
- The Laser Engraving Process Explained
- Conclusion
Laser Engraving: How Laser Light Interacts with Materials
Light is a form of energy, and a laser beam simply is a concentrated form of light, having one color, one wavelength, and one direction.
When this laser beam hits the surface of materials, it gets absorbed, and light energy changes to heat in that localized area. The temperature gets so high that the material vaporizes, leaving a deep mark. This conversion of solid to gaseous state is physically termed as sublimation.
Since the laser beam’s width (spot size) is quite small, the heat and vaporization are just limited to a very tiny spot. The process takes a few milliseconds to happen, and the intermediate interaction between laser and material is barely noticeable. It just feels like the laser is layering off the material like a sharp chisel. The result is a carved surface with visible depressions one can feel.
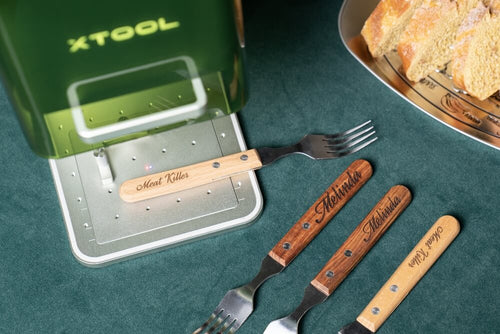
The laser burns the upper surface of the material, exposing its underlying layer. So, in most cases, due to burning, the engravings initially appear black or darker shades of material. However, in some cases, for instance, when engraving metals – where oxidation occurs. The interaction produces colored engravings. The color is dependent on the laser power and type of metal.

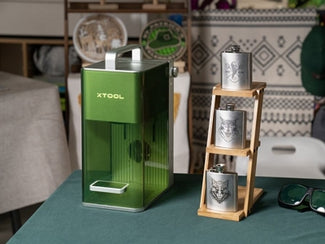
A laser works only on materials that absorb its specific wavelength. Those who reflect it cannot be engraved. A majority of materials absorb lasers. Some common ones are wood, plastic, acrylic, glass, stone, stone, leather, fabric, and metals. Additionally, materials that release harmful fumes like ABS, PVC, and Artificial Leather, are not recommended for laser engraving.
Differences between Laser Engraving, Etching, and Marking
The three terms – laser engraving, laser etching, and laser marking – are often used synonymously. But there are a few technical differences among the three.
Laser marking, as the name indicates, is just focused on creating a tiny mark on an object. For instance, a QR code, logo, or identification mark. Technically speaking, the target is slight de-coloration of the top layer to leave a mark with little or no material removal. This is achievable with a low-powered laser.
Whereas, laser engraving is a material process in which a laser penetrates and removes a layer; typically, 0.001 to 0.125 inches deep. The process requires a high-powered laser.
Laser etching is a form of engraving but differs in its approach. It removes material at a micro-surface level, with a cutting depth significantly less than engraving. This creates a mark that is less deep than traditional engraving. It’s used for applications where only a minimal alteration of the material surface is desired.
The Laser Engraving Process Explained
Now that you have learned the theory behind laser engraving, let’s focus on how the process gets done.
Step1: Design Creation
The first step is creating a design for engraving. You have two options: patterns or images. Vector designs, consisting of black and white lines and curves, are typical for engraving letters, logos, or patterns. You can create these using graphic design software.
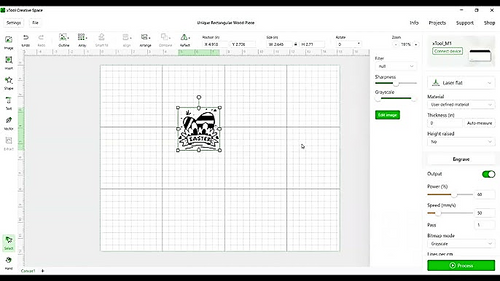
For colorful images, that are in PNG or JPG format, you need to convert them to a bitmap or grayscale image. This conversion informs the engraver about the depth of the engraving. You can use the bitmap modes on XCS software or imag-R for preparing photos for laser engraving.
Learn more:
Step 2: Material Selection and Preparation
Choose a material suitable for your laser machine type. Clean the material before engraving. In some cases, to prevent burn marks, you may wet the material, for instance when engraving wood or leather.
Step 3: Setting up the Laser Machine
Set up your machine and place the material inside. Open the laser control software to access custom settings like power and number of passes. Drag and drop the design and position it rightly over the material you want to engrave.
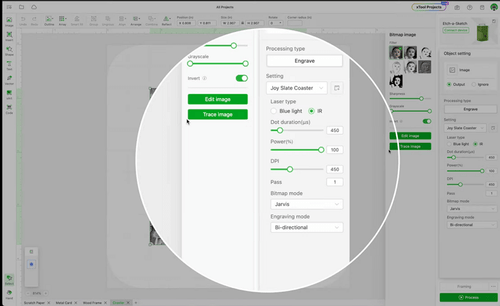
Test different settings on scrap material to find the optimal ones. For xTool laser engravers, use our recommended material settings.
Step 4: The Engraving Process
Once the settings are set, there’s a framing option where the machine runs the engraving path. You may reposition the material or make final changes at this step.
Once you initiate the engraving process, the laser head automatically moves across the material. It removes material and dynamically adjusts power based on the design. The process becomes as simple as printing on paper.
Step 5: Cleaning Post Engraving
Clean the engraved surface after the process. Use a damp cloth to remove residue and dry it. You may paint or add a sealant to protect the engraving.
Conclusion
Laser engraving is a non-contact method where a focused beam of light vaporizes material, leaving a permanent mark. In industries, this technique is used for product identification and traceability. At home, it’s perfect for customizing small accessories to make them uniquely yours.
Interested in trying out laser engraving? Get an xTool Laser engraver and start crafting your designs. We look forward to seeing your creations and how you harness this innovative technology!
Related Articles

Laser Classification and Laser
Laser Classification and Laser Safety: Tips You Need to Know
