Want to declutter your jewelry items and keep them organized?
For those with access to a laser cutting machine, the solution is simple. They have the ability to create a custom DIY jewelry organizer, such as an earring holder, necklace organizer and jewelry box in a few minutes to an hour, depending on the complexity of the design.

By harnessing the power of a laser cutting and engraving machine, you can make not only a jewelry organizer but various other DIY projects. These advanced machines offer the ability to cut and engrave a vast range of materials, which enables you to express your creativity and convert your imagination into reality. An added bonus is the potential to start a laser engraving and cutting business, selling your unique laser-cut creations.
Read on to know what you need to diy a jewelry organizer and follow the step-by-step guide to craft your one-of-kind piece. And we've also covered some diy jewelry organizer and holder ideas to get you inspired!
In This Article
- Tools and Materials to DIY Jewelry Organizer
- DIY Jewelry Organizer and Holder Ideas for Inspiration
- How to DIY a Jewelry Organizer
Tools and Materials to DIY Jewelry Organizer
A Laser Cutter
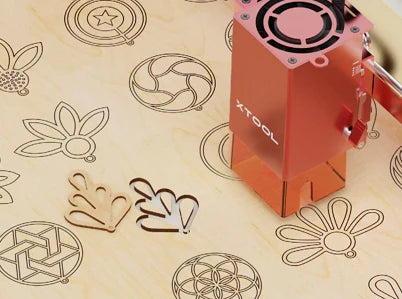
The best machine for making DIY items, including jewelry organizers, is a laser cutter and engraver. A laser machine is powerful enough to cut materials. It produces laser beams that increase the temperature of the object upon contact with the material. The temperature of the object is increased, and it merely takes fractions of a second to heat the material up to the melting point and boiling point.
Due to high temperature, the materials change from solid to gaseous instantly. Therefore, a cavity, called engraving, is created. If the laser beams have passed through the object, the material will be cut into pieces. Everything is automated; you just need to import the design, and the machine will do the rest.
There are different types of laser technologies available, and all of them have a distinct capability of cutting materials. The most affordable option is a diode laser. It can cut wood, acrylic (excluding blue and transparent acrylic), paper, fabric, cardboard, and various other materials. The second option is a CO2 laser cutter, which is more powerful and expensive than a diode laser. It also cut and engrave a wider range of non-metals.
You can use a CO2 or diode laser for this purpose. Both are great for cutting and engraving various non-metals. You can choose the right one according to your budget and requirements.
Materials
You need compatible materials to make jewelry organizers. Mostly, you will see wooden and acrylic jewelry organizers in online stores and marketplaces. According to your design and the laser machine’s compatibility, you need to choose the right size and thickness of the material.
 Shop xTool Selected Plywood
Design Files
Design files are necessary to cut the desired pattern or design. The machine follows that pattern and does everything according to the information.
If you are a designer, you can design your unique products. You only need to make those designs in Adobe Illustrator, Inkscape, CorelDraw, or any other software. Once the design is ready, convert the file into a compatible format that the laser machine accepts. The second option is getting the designs from free and paid websites. Check various free websites where you can easily find laser-cut files. You can try 3 Axis, Ponoko, DesignBundles, etc. But the designs of the free websites are usually common. The designs can also be purchased from Etsy, Vecteezy, and similar websites, where you can find tons of designs that can be used for commercial purposes.
Get the laser-cut file for the design you like, and you are now ready to make your own DIY jewelry organizer.
DIY Jewelry Organizer and Holder Ideas for Inspiration
DIY Jewelry Display Stand Organizer

image credit: by PewPewProductions via Etsy
This is a very simple jewelry stand that is ideal for displaying jewelry items and organizing them. It does the job and looks elegant. You can use it to organize earrings, necklaces, rings, and bangles.
Get a plywood of your choice and set it on the laser machine, and upload the file and enter optimal settings. Start the laser machine and cut the design. Your organizer will be ready in a few minutes. You can also paint the DIY jewelry organizer after cutting.
DIY Jewelry Tree Stand Holder

image credit: by TaricGoods via Etsy
This is a jewelry tree stand that looks stunning on a dressing table. It has a unique design compared to traditional organizers. It is ideal for organizing earrings, but you can aslo hang necklaces and rings. You need 3mm or 4mm plywood to make this beautiful organizer. Your laser machine can make it in a few minutes.
DIY Earring Holder

image credit: by PewPewProductions via Etsy
If you are looking for an earring holder to display earrings in a tradeshow or shop, this could be an excellent choice. You can also use it at your home for organizing dozens of pieces in one organizer.
The notable feature of this earring holder is the movable rack. According to the sizes of the earrings, the placement of the racks can be adjusted. There are seven racks, and each rack can have twelve pairs of earrings. The holes and slots on the racks allow easy adjustment of different types of earrings.
DIY Stud Earring Holder

image credit: by BelaCollective via Etsy
It is the most minimalist DIY stud earring holder. This organizer can be gifted to others because it can be customized. You can engrave the recipient’s name or anything you like on it through laser engraving. It is a simple two-piece holder. You need to laser cut the base and the arch. For beginners, it is a must-try.
DIY Minimalist Necklace Hanger

image credit: by BelaCollective via Etsy
It is a very simple DIY necklace holder that is fixed on the wall. Depending on the number of necklaces you have, you can make multiple pieces of hanger. There are holes in which you can insert round head nails to hang necklaces.It is a simple idea to keep all necklaces organized. It will hardly take a few minutes to get this DIY jewelry organizer ready.
DIY Wall-mounted Jewelry Organizer

image credit: by SugarAndChicShop via Etsy
This DIY jewelry organizer is also a décor piece that adds to the beauty of your bedroom. It is an elegant mirror and jewelry organizer. You can hang your necklaces, bangles, rings, and earrings. The design is exceptional; it catches the attention of the viewers. It could be your hot-selling item. You need to cut 3mm plywood, and after that, paste the mirror in its dedicated place.
DIY Geometric Jewelry Organizer Box

Image by GeekDadLaser via Etsy
This jewelry box organizer is a must-have for all girls and women. It has multiple compartments where you can store all your jewelry. It is an all-in-one jewelry box. The design of the box is a bit intricate. You need to cut all the pieces using a laser machine. It is recommended to use 3mm plywood. Once the pieces are ready, you need to assemble them. It is a bit difficult for beginners, but it is worth the hard work and time.
DIY Ring Holder Dish

Image by HanCraftedCoDesigns via Etsy
This is a DIY trinket tray to organize and keep rings, earring studs, pendants, etc. It is a good idea to place all your valuable items in this dish to prevent them from getting lost. The try is easy to make, and you can also customize it. There is plenty of space to engrave a name and photo/image. You just need to cut the pieces on any plywood and join them all together using glue.
How to DIY a Jewelry Organizer?
You can make your own jewelry organizer if you have a laser cutting and engraving machine. It is possible to make customized pieces and sell them in online stores. You only need to follow a few simple steps to get the job done.
Gather all the materials required for the DIY jewelry holder. You also need to cut the material in a suitable size according to the size of the laser cutting machine. Moreover, the laser-cut file should be ready.
Step 1: Set up the laser machine and connect your computer.
Step 2: Open the laser cutter software and import the laser-cut file. Adjust the position of the design and resize it if required.
Step 3: Before trying the design, check the right power and speed settings for the material. You need to make a few trials on some spare material. Once you have the optimal settings for engraving and cutting, enter the values for the design.
Step 4: Place the material in the working area. Secure it with clamps, clips, or whatever you have to prevent any movement. Adjust the focus of the laser on the material.
Step 5: Do framing for the design on the material. It will help you get an idea of the position and size of the design on the object. Once you are ready, click on the Start button. Let the machine do its job.
Step 6: After cutting, take out the material from the laser machine. Clean it and assemble all the parts. Paint it to make the DIY jewelry organizer more attractive.
For more questions. Please join our Facebook group to get inspired!

Related Articles
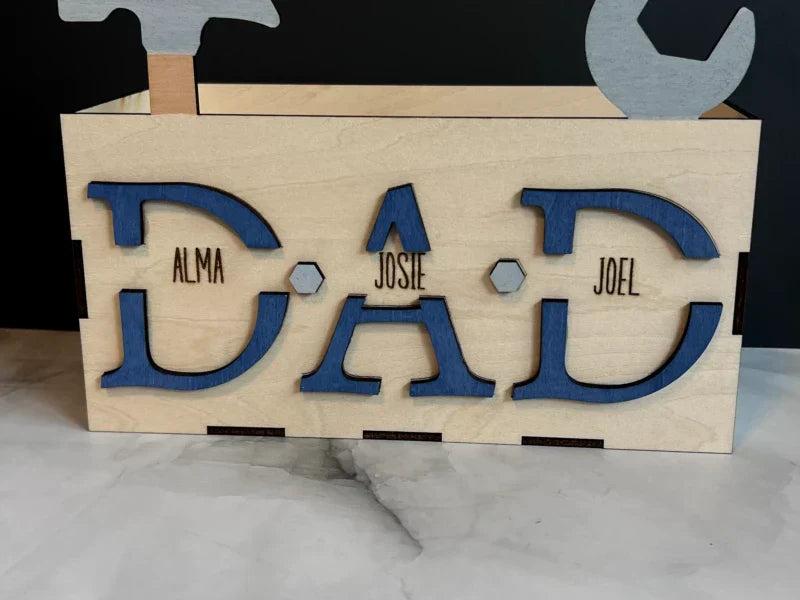
Top 10 Father_s Day Gift Ideas

How to Make A Stencil?